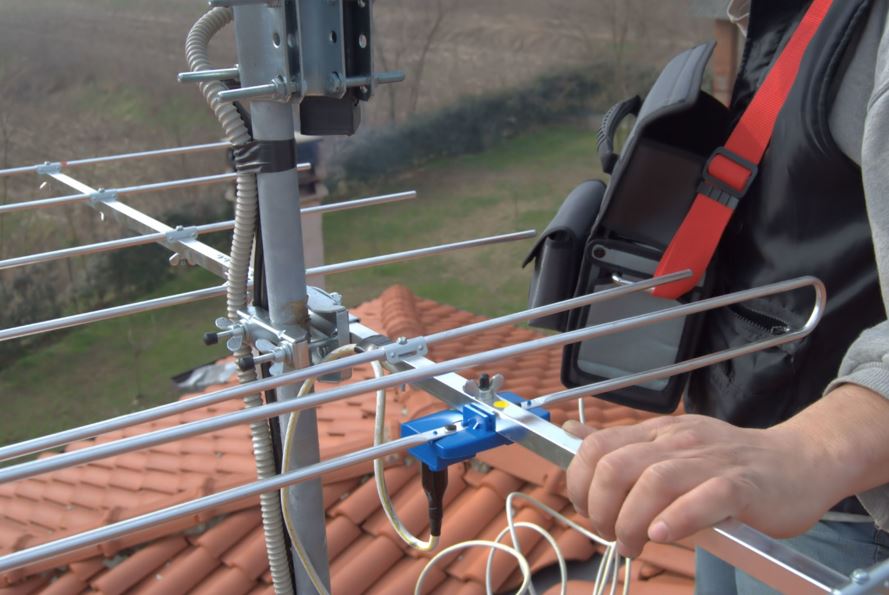
If you’re ready to vastly upgrade your entertainment options by purchasing a digital antenna, it pays to know how the installation process works. You might be feeling a little skittish at the prospect of some DIY, but there is no need to panic.
No matter what type of digital antenna you choose, learning how to install a digital antenna is simple, straightforward, and hassle-free. With that in mind, here is your essential 5-step guide to install a digital antenna in your home in just a few minutes.
1. Decide on Your Antenna
Before learning how to install an antenna, it is vital to figure out exactly what type of antenna you actually need. The most important distinction you will need to make is whether you need an indoor or an outdoor antenna.
As this expert digital antenna guide explains, you might be able to get away with an indoor antenna if you live in a dense urban area with an extremely good signal. However, if you live in the suburbs or the countryside, then you will need a stronger outdoor antenna to pick up all of the signals you need.
2. Coax Cable
If you have opted for an outdoor digital antenna, as most households in Australia tend to do, then you will need a coax cable. Your antenna will likely come equipped with a coax cable.
If you have opted for self-installation rather than getting an antenna technician to do the job or you, this cable is very important. If you do not already have a coax cable, you will most likely need to pick up an RG6 coax cable from your nearest electronics store.
This is what will need to be run through the house to connect your rooftop antenna to your TV. Small, indoor antennas do not need a coax cable.
3. Mounting
Now it’s time to actually install digital antenna parts in your home. The most important step is mounting your antenna on your roof or balcony. You can use adhesive strips, masking tape, or poster putty to mount your antenna.
Try to avoid using duct tape, as this can leave marks on your walls. Once you have securely mounted your antenna, you will then need to run the coax cable through the house. Once you have done this, your digital antenna is almost good to go.
4. Scanning
Next up, it’s time to start getting those hundreds of channels that you are looking for. The process for this might vary slightly depending on the television and network that you use. However, it’s a very straightforward process.
Simply head to your TV menu and find the ‘scan’ function. Select this, and your TV will start using the antenna to scan for channels. All channels should be automatically saved to your TV’s memory, meaning that you’ll have them on there permanently.
5. Stability
The cost of installing digital antenna systems can be great if you do not install them carefully and safely. Always double-check that your antenna is stable and will not simply fall off your roof at the first gust of wind.
Don’t be afraid to use as many adhesive strips as you can to hold it down tightly. Give the antenna set a shake to see if it is fixed in place. You can’t be too careful.
Now That You Know How to Install a Digital Antenna…
Now that you know how to install a digital antenna, it’s time to discover more life hacks. By exploring our blogs section, you’ll find essential everyday tips and hacks covering DIY, investing, fitness, and more and start learning today.
Author Bio: Ester Adams is a farmer of words in the field of creativity. She is an experienced independent content writer with a demonstrated history of working in the writing and editing industry. She is a multi-niche content chef who loves cooking new things.


