How to Install a Solar Light System
Are you tired of stumbling down your dark driveway hauling shopping bags back from the supermarket? Perhaps you want to deter intruders from breaking into your house with a security light.
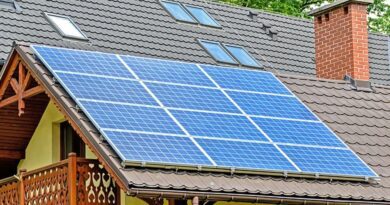
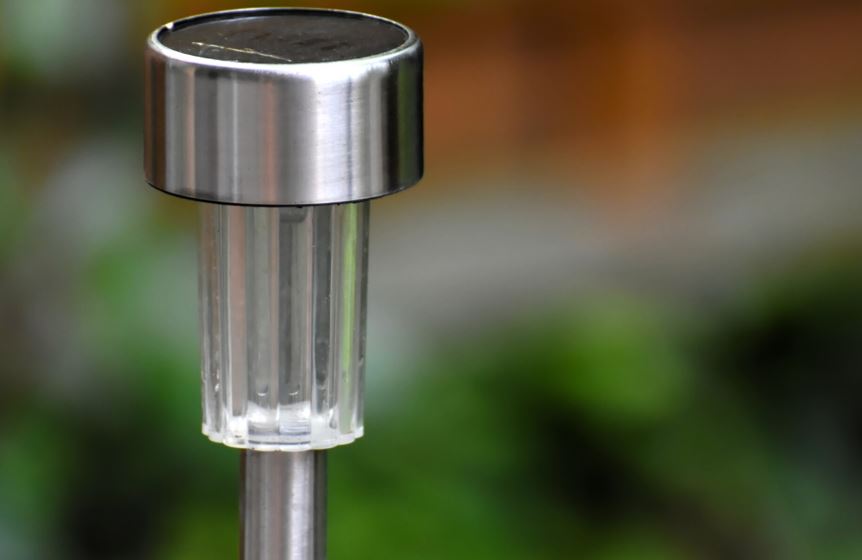
If you don’t want to add to your electricity bill, consider installing a solar light system around your home. You can hook them up to existing solar panels or buy self-contained units complete with their own mini panel.
Most of the solar power lights on the market today are easy to install yourself. Read on to learn how.
Check the Pack and Gather Your Tools
Whether you’re buying a set of garden lights or a single floodlight, it’s going to come in a box. And inside this box will be all of the parts you need to get your light up and running. This usually includes:
- A mounting fixture or pole
- Light fixture and bulb (or bulbs)
- Nuts and bolts and other small parts
- A controller
- Installation instructions
Note that if your solar lights are self-contained, they will have a solar panel and battery unit. If you’re wiring it into an existing solar system, it will come with wires.
You’ll also need a few tools on hand, including a tape measure, wrenches, a wire stripper, a level, a multi-meter, screwdrivers, a hammer, waterproof tape, cable ties, a light meter, and a shovel.
Review the Installation Location
Next, you need to plan out where you want to put your light (if you haven’t already) and prepare the area for installation.
If the light has its own solar panel, clear away any branches or other obstructions that will block sunlight. Ensure there are no wires or hot appliances nearby and the wall or ground is sturdy enough to support the light fixture.
If you’re struggling to install your outdoor solar lanterns, don’t be shy to reach out to professionals, like this solar panel company, for help.
It’s Time to Install Your Lighting System!
Assemble the solar garden lights or whatever light you’re installing according to the manufacturer’s instructions. Be sure to follow these carefully because every light is different.
Securely mount the light fixture to the wall or drive the pole of your solar light into the ground. If you need to concrete it in, make sure you’ve prepared your concrete in advance.
If the solar lights are standalone, connect the battery box to the solar panel and angle the panel in a way that catches the most light. Calculate the pitch by adding (winter) or subtracting (summer) 15 degrees to your latitude.
Now all that’s left is to connect the necessary wires and test your system to make sure it works! And don’t forget to schedule regular maintenance, such as inspections, cleaning, and battery replacement, to keep your lights running smoothly all year round.
Installing a Solar Light System the Right Way
Whether installing a solar light system in your garden or along your driveway, you need to make sure you do it correctly. This means following the manufacturer’s installation instructions, heeding safety warnings, and testing your lights to ensure they work. If you have any doubts, contact a licensed electrician for help.
For more advice on going green in your home, read the other articles on our website.